Difficulty
Moderate
Steps
11
Time Required

In Progress
This guide is currently being written. Reload periodically to see the latest changes.

Private
This guide will not appear in search results and can only be viewed by team members!
Quiz
0
Introduction
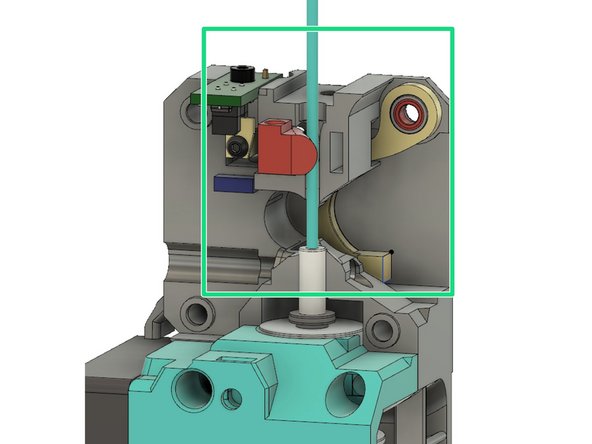
Bunny and Bear Short Ears (BNBSX) MK3S Geared Extruder is an advanced, geared extruder for upgrading the Prusa MK3S and MMU2S printers. Compared to the Prusa R4 extruder, this adds...
- Geared 1:3.5 drive for more consistent extrusion
- Isolates filament from extruder motor heat
- Corrected filament path/Bontech alignment
- Lower total mass by about 80 gm
- Reduced moment arm by moving motor closer to x-axis.
- Isolate filament from extruder motor heat.
- Two, swappable filament sensor systems (armature for single filament, internal lever for MMU2S)
- Internal lever eliminates bulky Prusa sensor chimney
- Internal lever allows full opening of idler door
- Single screw tuning of MMU2S filament sensing
- Single media MK3S sensor armature eliminates steel ball rattling
- Provisioned for LED filament sensor indicator mod
- Only one magnet needed for filament sensor
- Easy motor plate and hot end removal for service
- Hot End PTFE tube changeable without disturbing XYZ calibration
- Separately printable hot fins for heat resistance
- Hot fins tightly encircle hot end.
- Fits E3DV6, Volcano, or Mosquito hot ends
- Air plenum remains optimum whether E3D or Mosquito installed
Use the BNB Universal X-carriage for mounting this extruder. https://www.thingiverse.com/thing:361059.... BNB Universal X-carriage has cable management features to reduce risk of hot end cable damage during XYZ calibration
BNB Short Ears X-ends are needed to not impinge motor against the motor x-end.
-
-
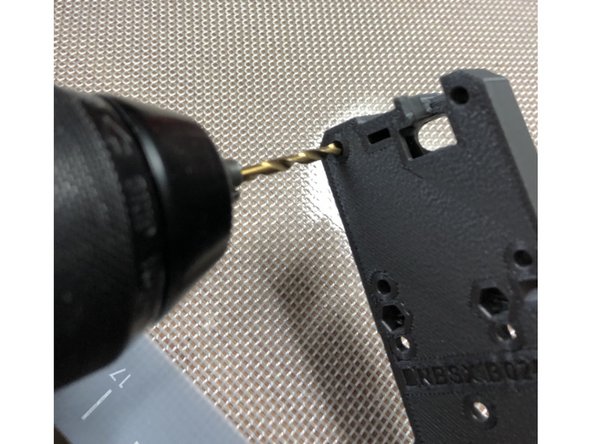
Clear out each 3mm bolt hole with a 3 mm drill bit to make bolt insertion easier.
-
Don't drill out holes that are intended to be directly threaded like the noctua fan mount holes.
-
-
-
Draw nuts into hex pockets rather than trying to push them into position.
-
Be sure nut is rotationally aligned with hex recesss as you draw it in. Misalignment will damage the pocket
-
Washer on bolt reduces damage to plastic. Do not over tighten. Just get the nut fully seated. Once nut is seated, remove bolt and washer.
-
-
-
Printed parts mate together more accurately and securely if their flat mating surfaces are actually flat. Less torque is needed to secure parts whose mating surfaces are in good contact.
-
Flatten surfaces that were on textured print plates by lightly wet lapping with wet/dry 600 sand paper on flat glass plate.
-
Don't sand so much that you dimensionally change size or shape. Remove just the "high" points from the texture
-
Remove retraction zits from top surfaces or irregular shapes with light strokes of a metal file. Just one or two passes are all you need.
-
Be mindful of raised features like index pins when flattening surfaces! Do not damage raised features
-
-
-
Print parts in PETG with 4 perimeters, 5 top shells, 5 bottom shells, 20% gyroid fill.
-
BNBSX Extruder Plated b02m6.3mf file contains the extruder parts including spares of fragile bits.
-
Print Short Ears x-ends for use with this extruder BNB Short Ears X-Ends.
-
-
-
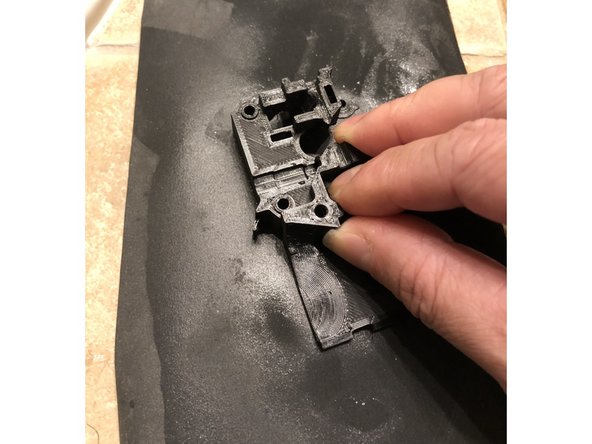
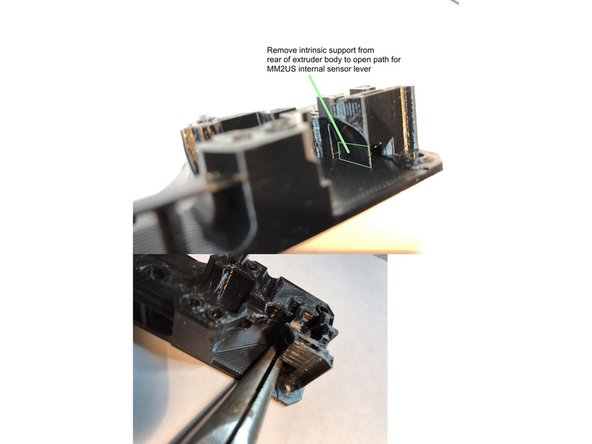
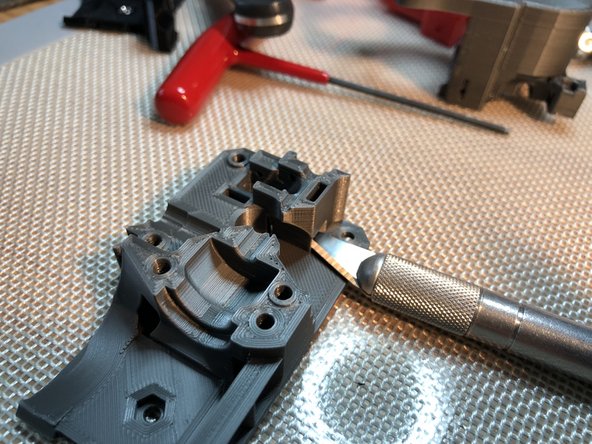
Extruder Body is printed with an intrinsic support. Remove intrinsic support with knife and pliers.
-
Lap rear surface of Extruder Body to make its mating surface flat.
-
Use metal file to knock off plastic zits on front mating surfaces. Be mindful of the three index pins
-
-
-
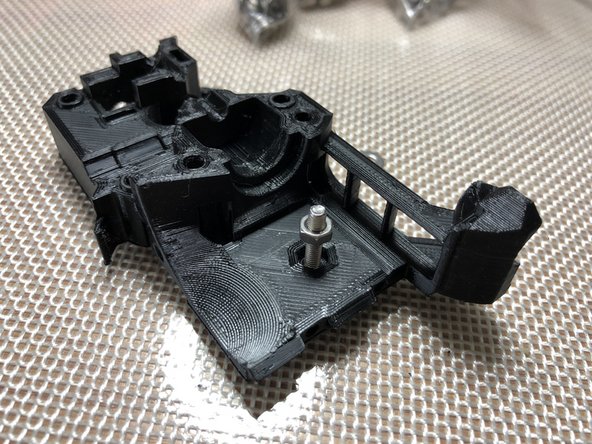
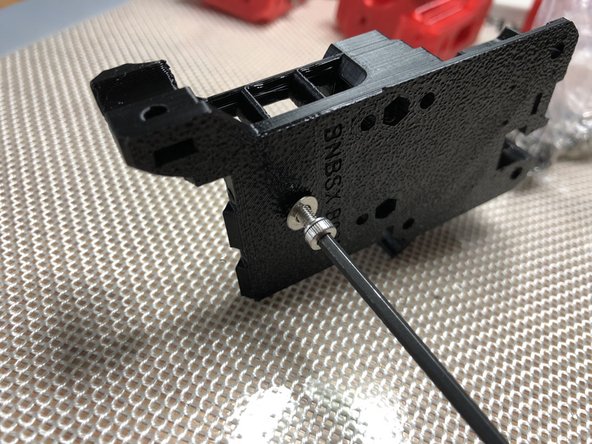
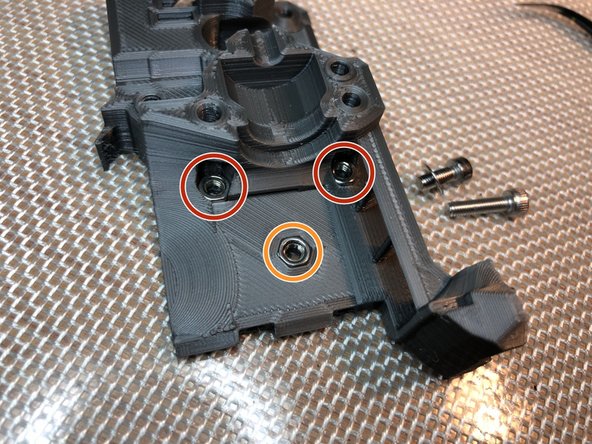
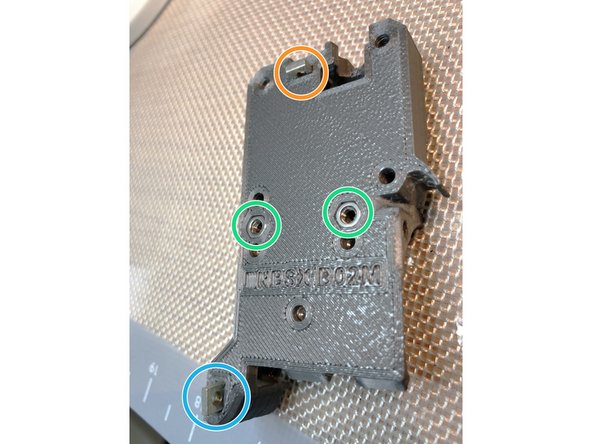
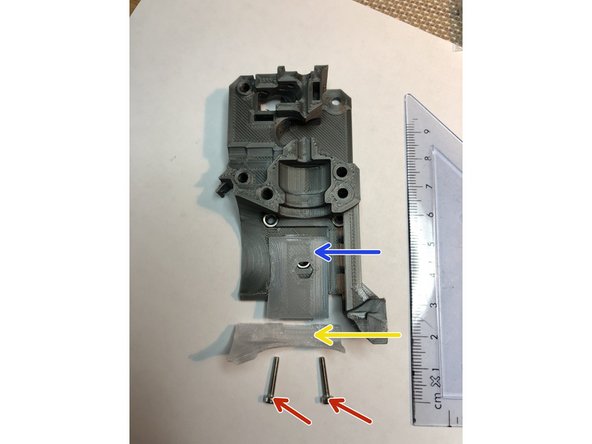
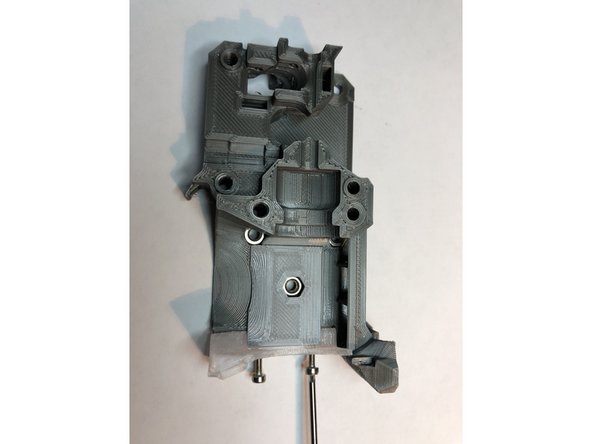
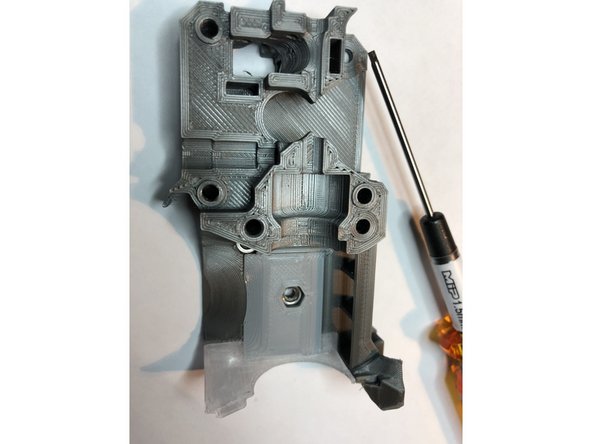
Install three M3 nuts. These will attach extruder to x-carriage.
-
Lower M3 nut is easy to install
-
Upper two M3 nuts are more challenging. Begin with M3 x 12 mm screw and washer. Partially seat nut with longer 12 mm screw. Switch to shorter M3 x 8 mm screw to fully seat nut.
-
-
-
Insert hot end cover mounting M3 nuts
-
Top cover M3S nut
-
PINDA mount M3S
-
-
-
E3D Plenum Plate is held in position by tabs on each of its end
-
Hot fin can be printed in higher temperature material like ABS or Polycarbonate to better resist heat
-
Two M2 x 12 mm screws attach hot fins to extruder body
-
Just seat and slightly snug the M2 screws. They are threading directly into plastic.
-
E3D Plenum Plate is omitted and special hot fin used if Mosquito hot end is to be installed.
-
-
-
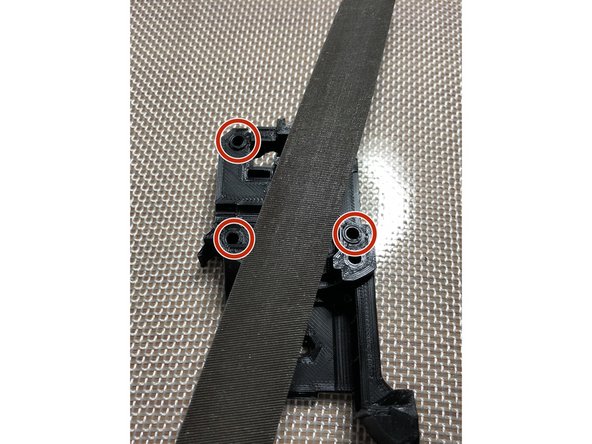
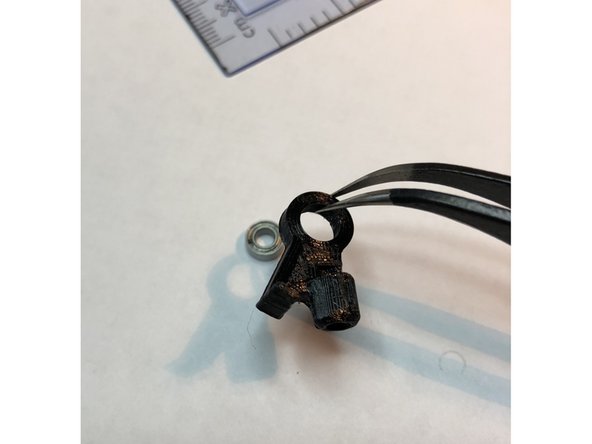
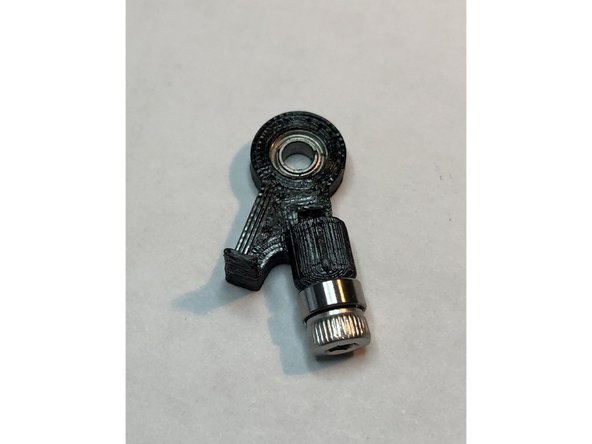
For single filament use, armature with bearing detects filament ABOVE Bondtech drive gears.
-
For MMU2S, internal lever senses filament shifting Bondtech gear on idler door.
-
You can later change filament sensing method WITHOUT a full extruder tear down. Simply remove motor plate and IR sensor. Then swap armature and internal sensing lever to change systems. For now, build the option that matches your needs.
-
-
-
Post print process armature only with a knife. Do not use hot air or you risk damaging its interruptor fin.
-
Press pivot MR63ZZ 3x6x2.5 mm miniature bearing into BOTTOM of armature. Be careful not to break the interruptor fin.
-
Attach filament sensing MR63ZZ bearing to armature with M3 x 6 mm screw. Bearing should be secure but keep screw loose enough to enable free bearing rotation.
-
-
-
Insert armature into sensor pocket of extruder body
-
Secure pivot bearing with M2 x 8 mm screw. Be gentle. This screw threads directly into plastic.
-
It is normal
-